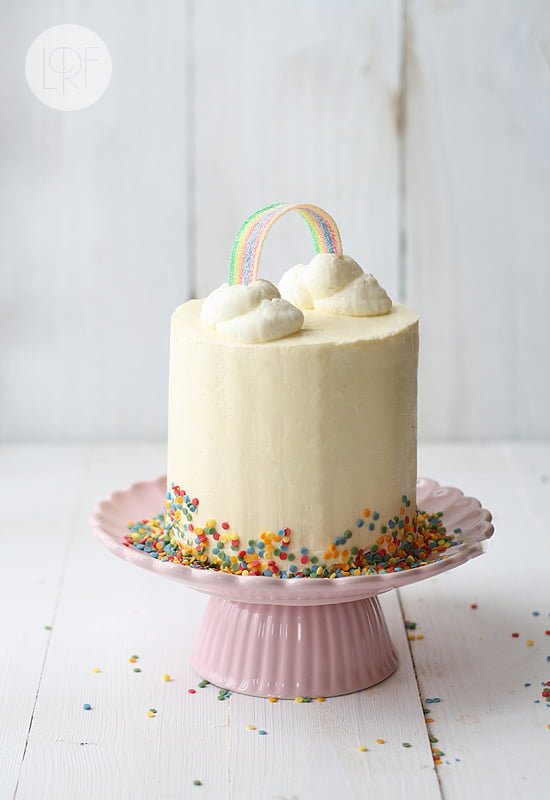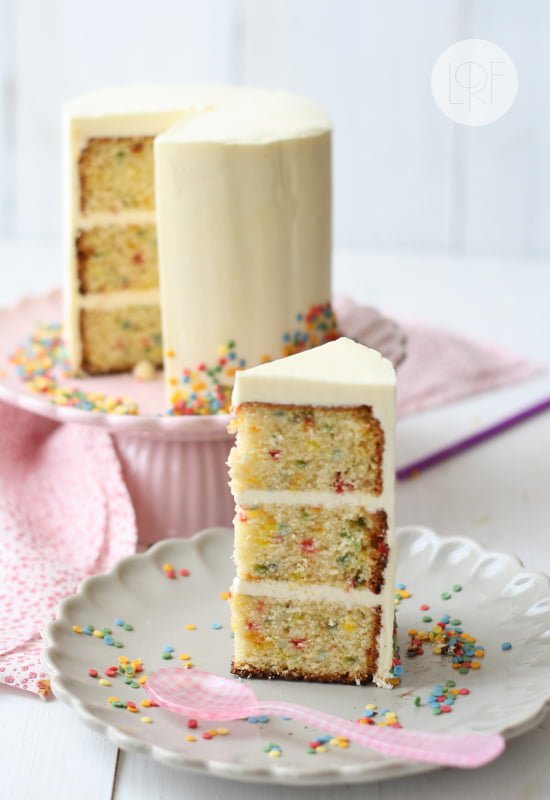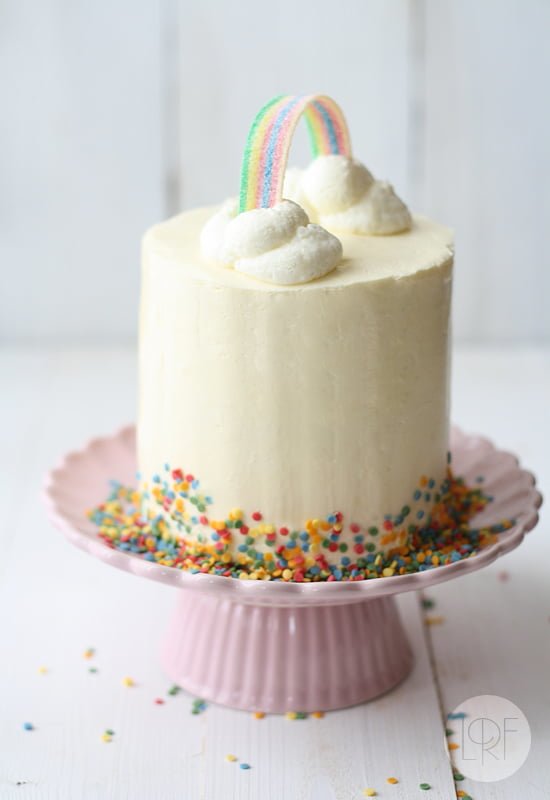
According to the Bible, after Noah’s flood, God put the rainbow in the sky as the sign of His promise that He would never again destroy the earth with flood (Genesis 9:13–17):”I do set my bow in the cloud, and it shall be for a token of a covenant between me and the earth. And it shall come to pass, when I bring a cloud over the earth, that the bow shall be seen in the cloud: And I will remember my covenant, which is between me and you and every living creature of all flesh; and the waters shall no more become a flood to destroy all flesh”
In Spain it has been raining non stop for the last month, so I thought it might be a good idea to remember that promise… and that He would have mercy on us with curly hair that needs to be straightened every day 😛
{Rainbow cake}
Preparation: 30 min
Cooking time: 25 min
Yield: a 5,9 inches 3 layer cake (12-16 servings)
Ingredientes
- 3 eggs
- 200 g sugar
- 200 ml whipping cream
- 150 g butter, soft
- 350 g flour
- 1 tbs baking powder (16 g)
- pinch of salt
- Sugar Confetti (90 g)
- 100 g sugar
- 30 ml water
- 2 egg whites (pasteurized, preferably)
- 300 g butter, room temperature
- 1 tsp vanilla extract
- More confetti sugar (about 40 g)
- Whipped cream for the clouds
- Sweet/Sour Rainbow Strip
Vanilla Buttercream (i-recetas):
Decoration:
Directions
- Preheat oven to 350 ºF
- Prepare 3 5,9 inches (15 cm) cake pans (butter and flour the bottom and the sides of the pans)
- In a large bowl, place eggs and sugar, and beat on high speed until light and fluffy
- Add cream and butter, and mix well
- Add flour, salt and baking powder, and beat just until combined
- Pour batter into pans and bake for 20-25 minutes
- Leave the cakes in their pans on a wire rack for 10 minutes and then turn out to cool. Gently turn cakes back up, so the tops are up
- When cold (the cakes can be frozen
or kept on an airtight container for a few days) trim any doming or top crust from cake layers using a very sharp serrated knife - Now we are going to prepare the vanilla buttercream
- In a small saucepan over medium heat, bring sugar and water to a boil. Continue boiling for a few seconds, and set aside. Meanwhile, place egg whites in the bowl of a standing mixer fitted with the whisk attachment, and beat on medium-high speed until stiff. With mixer running, add syrup to whites in a stream, beating on high speed until the meringue is cold. Add butter bit by bit, beating until spreadable, 3 to 5 minutes; beat in vanilla. If icing curdles, keep beating until smooth.
- Line a serving plate with pieces of paper parchment (so that they can be easily removed with you have finished with decoration). Place the bottom cake layer on top of your serving plate (it this is your first time frosting a cake, you might need to have a look at the proccess step by step)
- Place 1 dollop frosting on top of the cake layer, and spread evenly with a small offset palette knife. Gently place 2nd cake layer, face up, on top, another dollop frosting, and finally the third cake layer on top. Put a generous scoop of frosting over it, spreading evenly with a small offset palette knife and working your way down the sides until you have a thin layer of frosting over the entire cake. Freeze until set, about 15 minutes.
- After removing the cake from the freezer, finish frosting. Place a frosting dollop on top and move the frosting along the side of the cake, removing the excess as you turn the cake. Clean and moist the spatula between every swipe for a perfect finish on your mini cakes
- Using a piping bag with a round medium tip, place two clouds at opposite sides of the cake. Bend one strip of the rainbow candy, and carefully place it onto the clouds . Remove carefully paper parchment from the serving plate, and enjoy!
NOTES:
- To prepare whipped cream, beat 1/2 cup (125 ml) cold whipping cream with 1 tbs sugar on high speed until ready
- Please find here another rainbow cake recipe, made with M&M’s
- If you have prepared this recipe, and want to send me a pic and your comments, please use this form . If you wish to subscribe to receive my recipes in English please do it here


This cake is so tastefully done and I love the rainbow theme! Beautiful!!! 🙂
This is the most beautiful looking cake, it looks divine!
This cake is so precious. One of the prettiest I’ve seen.
Ohh, I have to make this…super cute!!
this is such wonderful post. I love the simple design of this cake. Too pretty
Absolutely adorable!!
This looks amazing! What is ‘de harina’? Is it flour? *sorry*
yes, sorry! I corrected it 🙂
Thank you! and congrats on your Saveur nomination! 🙂
Thank you for your kind comments! Have a wonderful week! 🙂
Came over from a quiet life blog . . .
no chance of me stealing any recipes from you! I’ll just read, admire, oooo and awww . . . your creations are truly a work of art!
any chance you could convert the gr to cups/ I searched for conversions and each is different. The cake looks beautiful and plan to try it for mother-inlaw birthday.
Thanks
I love your interpretation of a rainbow cake!! 🙂
You’re very talented, so creative. Each of the dishes here is a masterpiece!
Absolutely gorgeous!
can you provide in cups, etc?