Happy birthday Jorge!! He has a message for you (starts on sec. 25) :)
Next week we will show you the
Up cakewe prepared fot his school mates!
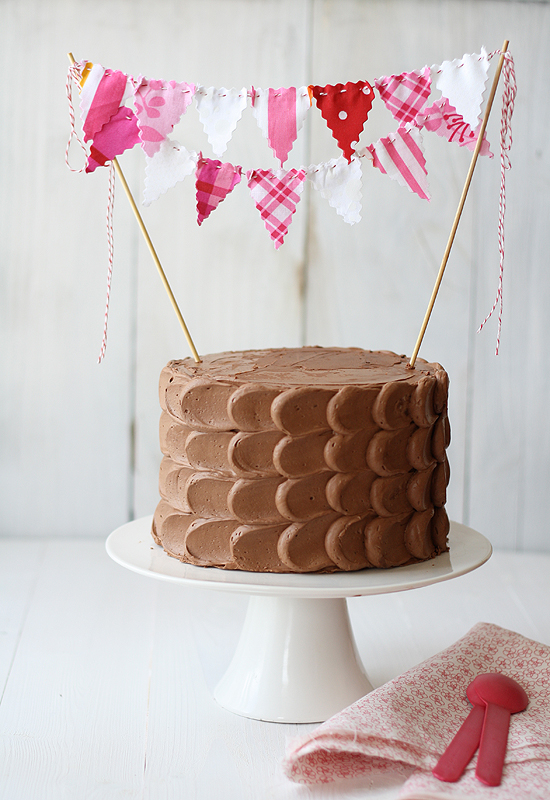
Simple chocolate cake
Summary: Simple chocolate cake, decorated with petal effect
Preparation: 30 min
Cooking time: 30 min
Yield: 24
Ingredients
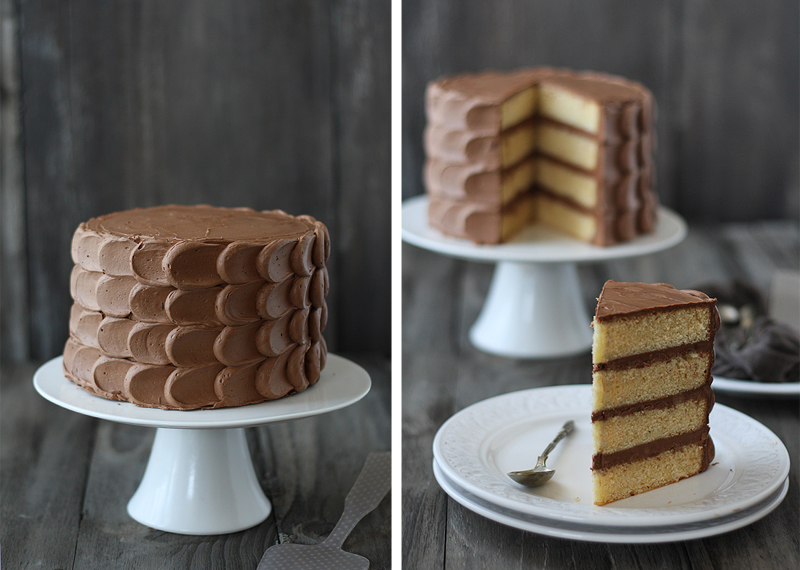
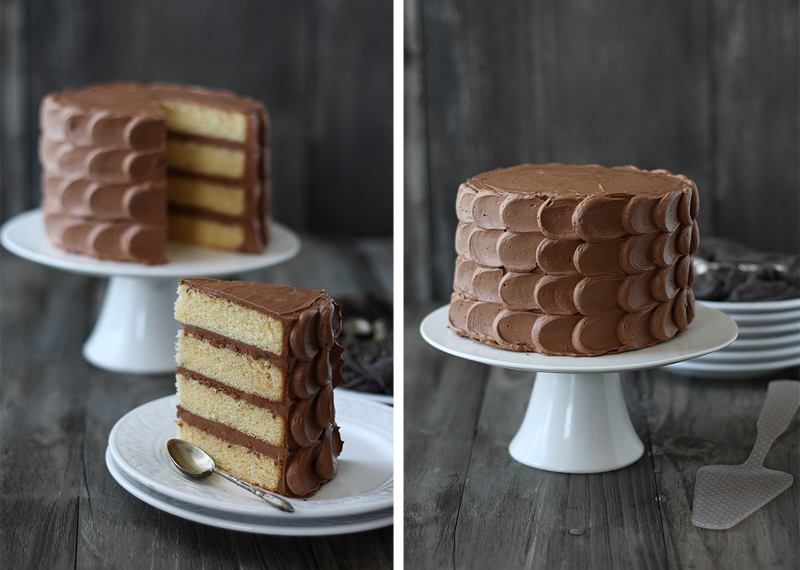
- 2 cake layers, 7 inches (if you want 4 layers as in the pictures, you have to make the recipe twice)
- 250 g butter, room temperature (two sticks)
- 250 g sugar (1 1/8 cup)
- 4 eggs
- 225 g all purpose flour (2 cups)
- 25 g corstarch (1/4 cup)
- 8 g baking powder (1/2 tablespoon)
- For the chocolate buttercream
- 750 g dark chocolate (26 oz), melted
- 375 g butter, room temperature (3 sticks)
- 100 g confectioners' sugar (1 cup)
Directions
- Preheat oven to 350 ºF
- Prepare two 7 inches cake pans (butter and flour the bottom and the sides of the pans)
- In a large bowl, place butter and sugar, and mix well
- Add eggs one by one
- Add flour, cornstarch and baking powder, and beat until combined
- Pour batter into pans and bake for 25 minutes
- Leave the cakes in their pans on a wire rack for 10 minutes and then turn out to cool.
- If you are going to prepare 4 layers as in the pictures, carefully wash the cake pans, and repeat the whole process
- The cakes can be frozen until needed
- Now we are going to prepare the chocolate buttercream
- Using and electric mixer, cream butter and sugar, until light and fluffy (about 5 minutes). Add melted chocolate, that shall be cool, and mix well. Now the buttercream is ready to use
- Fill the cake layers with chocolate buttercream, and then frost it with a thin layer of buttercream
- Place the cake in the fridge for 15 minutes to set
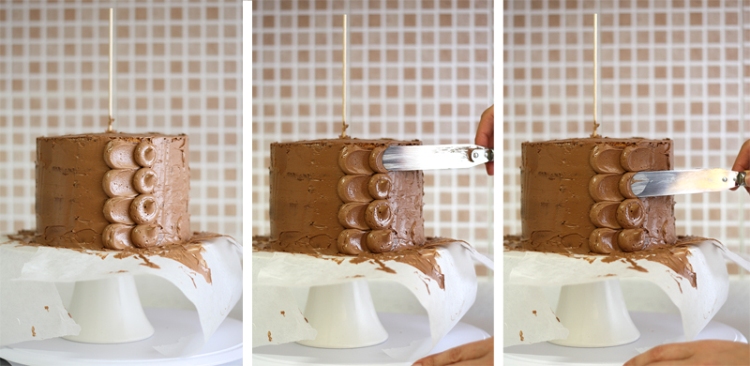
- Place the remaining chocolate buttercream on a piping bag fitted with a medium sized round tip
- Create a row of dots (vertical), as shown on the pictures
- Using a spatula, spread every dot to the right, in one motion (or to the left if you are left-handed). Clean the spatula between every swipe
- Once you have spread one row of dots, add another row of dots and repeat the pattern until the whole cake is covered with "petals"
- If you are not going to eat the cake on the same day, please avoid keeping it in the fridge if possible, so that the chocolate buttercream remains creamy
Sources:
El rincón de Bea: Cómo cubrir y rellenar un layer cake
My Cake School: Petal effect
I got the bunting cake topper here --->
EtsyYou can do something similar by yourself with this free printable --->
Kara's Party Ideas