
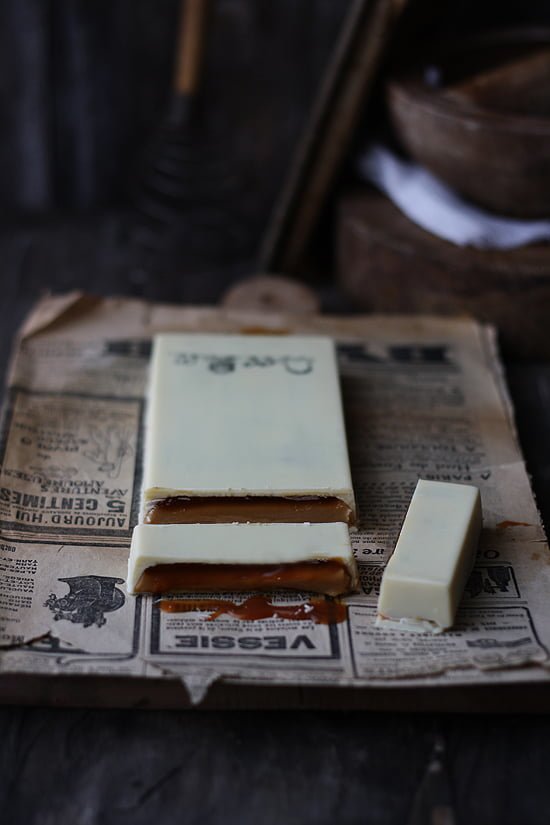
Christmas would not be Christmas in Spain without traditional Christmas treats such as "turrón". Turrón is a confection, typically made of honey and almonds, and usually shaped into either a rectangular tablet. Modern versions of turrón usually include chocolate, as the one I am proposing today, and in fact have nothing to do with traditional turrón, and are more similar to filled chocolate bars.
Last year I shared a
classic turrón with a twist, but this year I wanted to try something different. Since I tried it last year, Vahlrona Dulcey chocolate has become one of my favorites. According to
Vahlrona, Dulcey is a smooth, creamy chocolate with a velvety and enveloping texture and a warm, blond color. The first notes are buttery, toasty and not too sweet, gradually giving way to the flavors of shortbread with a pinch of salt. It tastes like caramel to me.
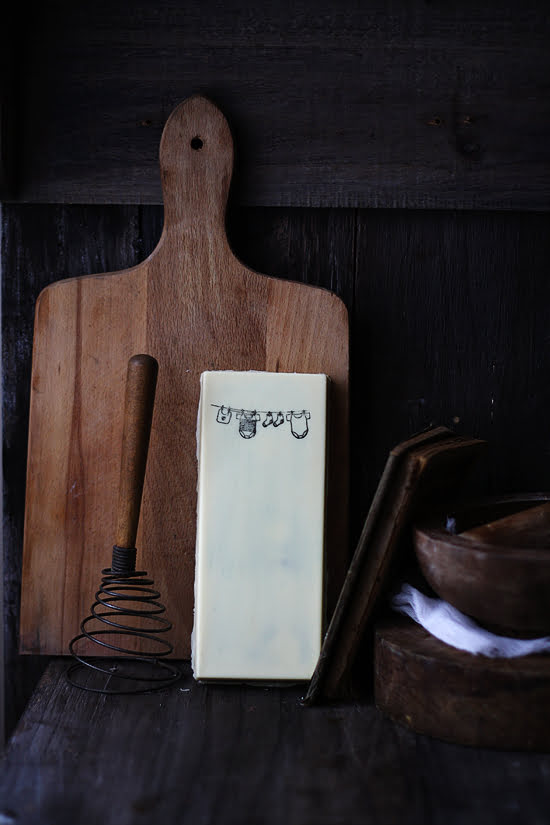
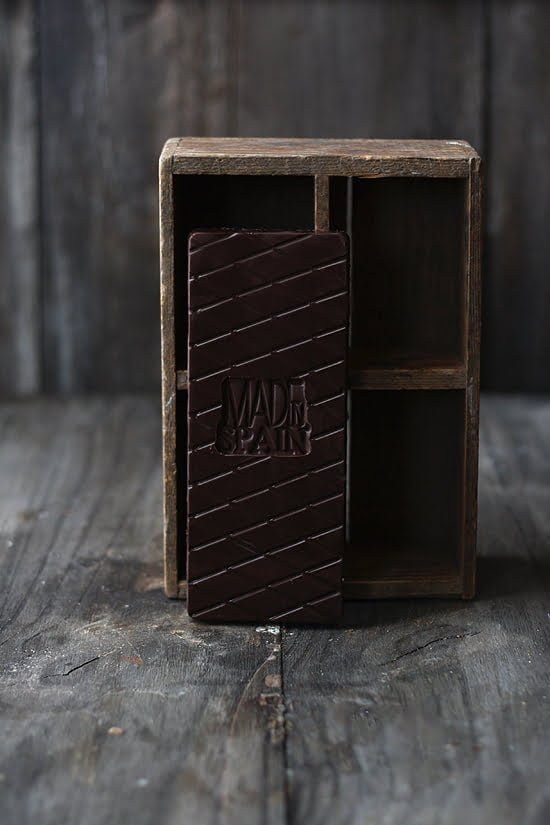
For decoration, I have used stamps. I am becoming kind of crazy lately with stamps. I stamp my cookies, my pancakes, my pies, my gifts, even myself (just to know how a tattow would look on me). You might use them to stamp any friendly (or unfriendly) message on your chocolate with food colouring, or alteratively, you might use them (only clear stamps!) on the base of your mold to engrave any desing on your chocolate. I find these bars would make a great Xmas gift. Don't you agree?
I hope you like these Dulcey filled chocolate bars!

Dulcey filled chocolate bar
Prep Time: 30 min (plus chilling)
Cooking time: 15 min
Yield: 2 chocolate bars
Ingredients
- 300 g white chocolate (you might use milk or semisweet chocolate instead)
- Dulcey filling
- 200 g Dulcey chocolate
- 150 ml heavy cream
- 50 g butter
- Caramel sauce
- 200 g sugar
- 100 ml heavy cream
- 100 g butter
- 1 pinch of salt
- To decorate: - Clear stamps - Edible food colouring
Directions
- Heat sugar in a medium saucepan over medium heat, it will melt into an amber-colored liquid. Be careful not to burn. Add the butter and cream. Be careful in this step because the caramel will bubble rapidly. Stir and allow the mixture to boil for 1 minute. Allow to cool down before using.
- Melt 2/3 white chocolate, and fill the chocolate bar mold. Turn the mold over a bowl and tap the back of the mold to remove the excess chocolate. Use a spatula to scrape off the excess chocolate. This will create a hollow chocolate shell. Allow the remaining chocolate in the mold to set until firm and glossy. You might speed this up in the fridge
- Prepare Dulcey filling. Bring cream to a boil, and add chopped Dulcey chocolate. Let it sit for 5 minutes, and then stir until smooth. Add butter, and stir again until combined. Allow to cool
- Once the chocolate shell set, and the caramel sauce cold, spread a thin layer of caramel sauce on the chocolate shell. Store in the fridge
- Once the Dulcey filling is cold, pour it in the mold, but do not fill completely. Store in the fridge for a couple of hours, until set
- Melt remaining chocolate, and pour a layer on top to seal the chocolate bar. Tap the bar on the counter to release any air bubbles and then scrape off the excess with a large spatula. Store in the fridge until set, unmold and serve. Keeps up to one week in the fridge.
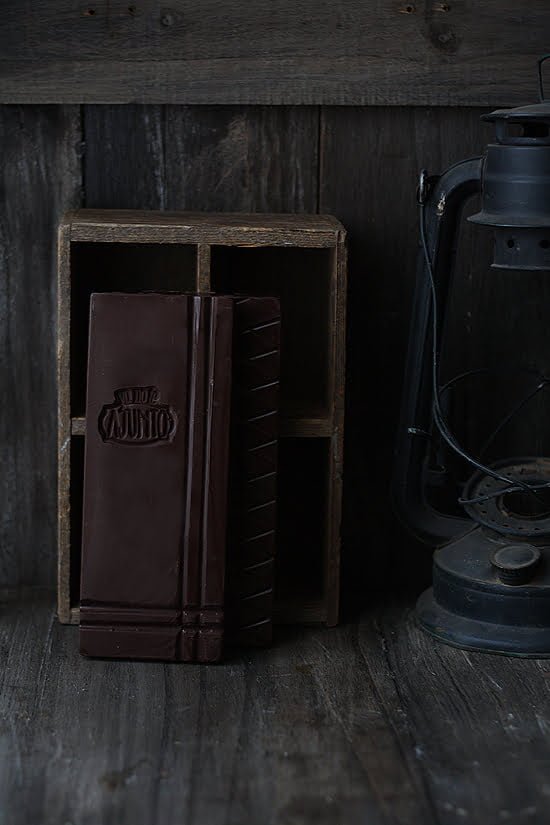
- For a personalized decoration, we have to options. First option consist of putting a clear stamp (face up) on the mold before pouring the chocolate. This way you just have to unmold the chocolate bar when ready, and gently remove the stamp. Just make sure that the chocolate coat is thick enough, so that it doesn't break when you remove the stamp afterwards
- Instead you might use the stamp to stamp any design of your choice on your chocolate, using edible ink. To get the edible ink on the stamp, there are several techniques: using a sponge, using a small paint brush, and finally my favorite, using an uninked ink pad. I highly recommend make a few tests on a sheet of paper before printing on chocolate, cause it isn't as easy as stamping a cookie for instance.
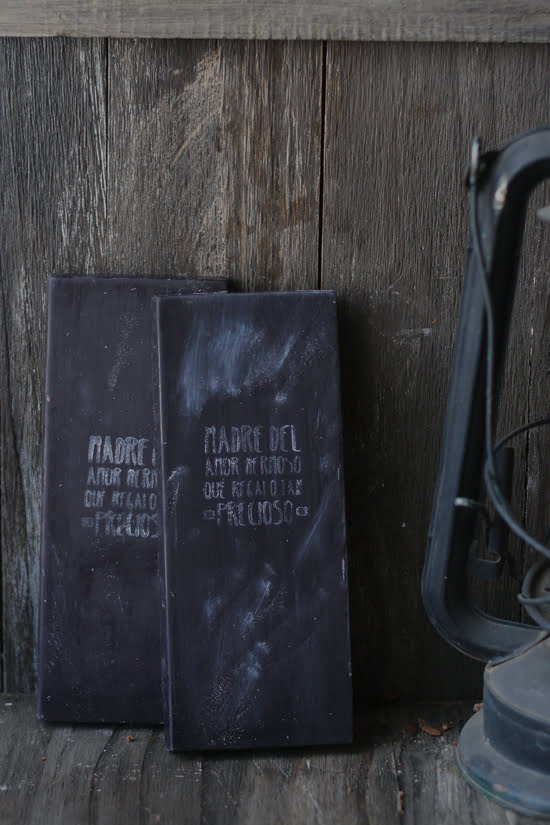
- To prepare the chalkboard chocolate bar, I used black candy melts instead of plain chocolate, and white food colouring, both in gel and powder for a "chalk dust" finish.
- For a proffesional finsih, chocolate should be tempered. There are several methods, this is one of the easiest
- Before leaving you might want to have a look at my books (selling worldwide). If you have prepared this recipe, and want to send me a pic and your comments, please use this form . If you wish to subscribe to receive my recipes in English please do it here